How To Bleach Knots On A Lace Closure
How To Bleach Knots On A Lace Closure(Beginner Useful and Friendly)
Lace closure is a popular item to cover the front head in the sew-in or achieve the perfect hairstyle. The small hairpiece is super easy to manage. However, sometimes you will find that your newly-brought lace closure is not so lovely because of those black knots.
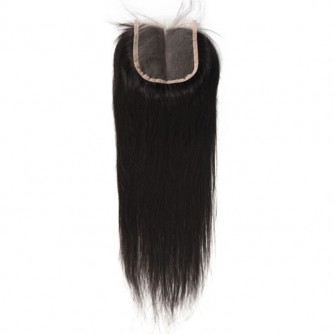
I am going ahead and show you an example of closure. This is one of Brazilian hair straight free part closure.
Lovely lovely beautiful closure. Now the only problem with the closure is those annoying black in the parting areas. You can see these tiny little black knots or tiny little black spots. When you have your closure on and if somebody come close, they can see that.
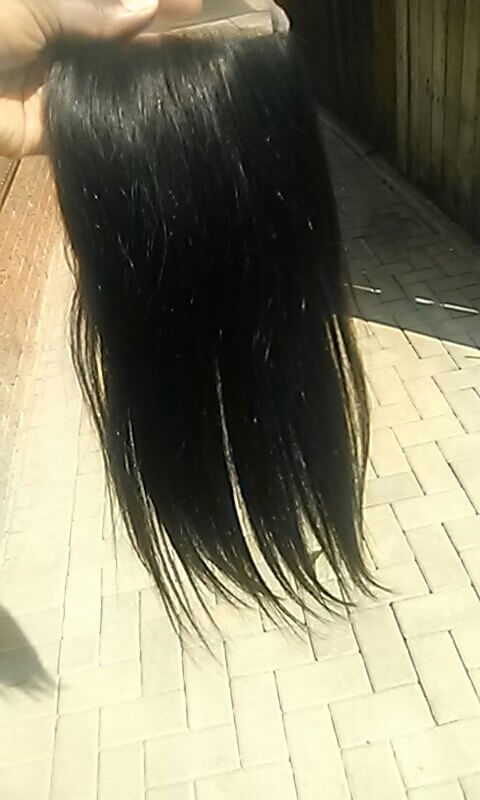
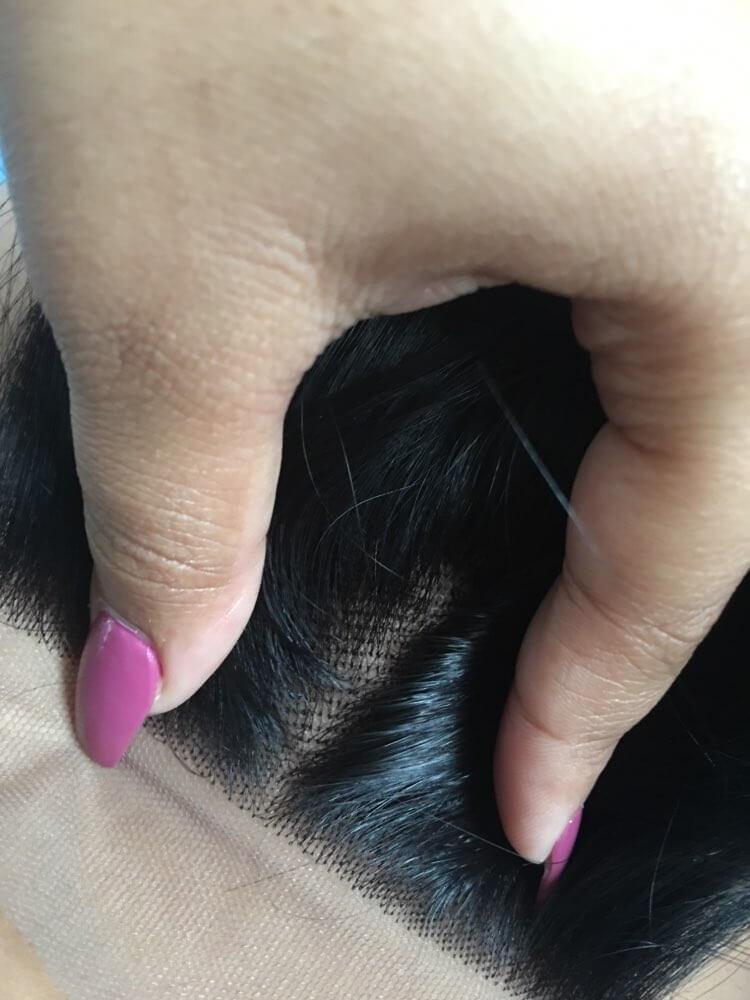
(Those black knots on lace closure)
Where do the black knots come from?
These knots are actually when the person is constructing or making the closure, they have to loop around the hair on the lace and make them knots so that it secures to hair from coming loose.
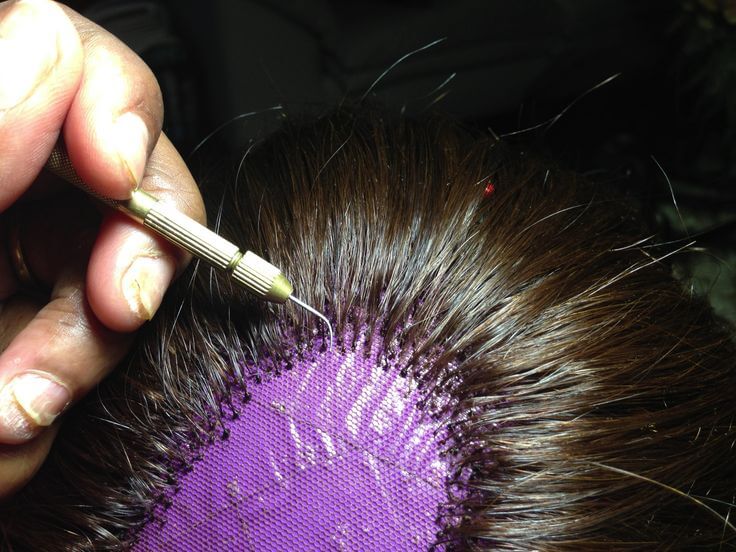
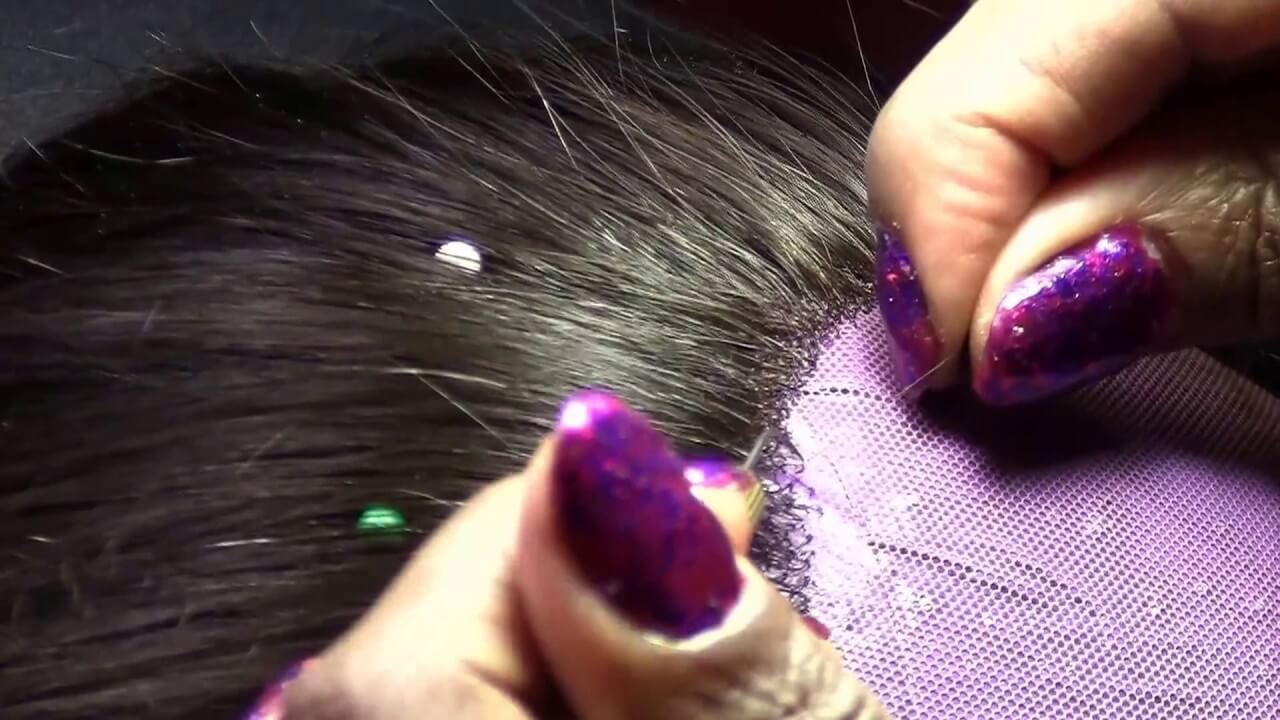
( Worker tied the hair on the lace strand by strand - all hand tied)
But we don't want them. I have been getting this question a lot on why your lace closure looks so natural like your own skin and how to bleach knots. I know there are tons and tons of articles and videos out there, but you guys have been really been asking me for a blog post on how to properly bleach the knots. Before getting into the detailed process of how to bleach the knots on lace closure, I want to talk little about the pros and cons. You can know if it is a must to do so.
Cons:
First, I am not an advocate for bleaching knots because if you bleach it too much, then you can strip the knots and the hair will start to come out. So that’s why some people complain about their lace closures are going bald after they bleach the knots. Because you are stripping the knots.
The knot is what is holding the strands of hair into the lace. So if you over bleach it, you know when you bleach your hair, you are taking away a layer, so it is taken away a layer and it is pulling the knots out. That’s the one reason why I am not an advocate for it.
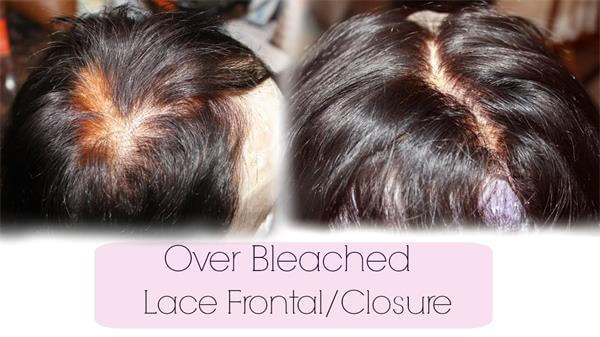
The second reason is that it can get messy especially for a clumsy-handed lady and if you do it the wrong way, the bleach is seeped through and they did it again all on the parts of the hair. You definitely don’t want it. It takes your time and your patience. This is what it looks like when you over bleach your lace closure.
Pros:
As you can see those black dots (look like ants) on the closure and we do not want that on our head because it is totally not natural looking at all and it not the perfect closure to match your scalp. Bleach the knots makes your closure just very realistic and very scalp-like.
How to bleach lace closure
Step 1 - Prepare your closure
I need to prepare my lace closure make sure it is ready first. If you have flyaway or baby hair, you just want to take it lightly, spray it down and use a brush or comb to lay all the flyaway down because you don’t want them to bleach.
Step 2 - Mix the bleach(Most important):
I am going to get my powder bleach (Clairol BW2) and a 30 developer (Clairol soy 4plex) so it won’t be too intense. And then I need a dyeing brush, some foils just to cover the dye.
So if you purchase the bleach in this container like this which is from my beauty supply store for like 8 dollars. It comes with this blue measuring cup and I just filled this measuring cup up just about halfway and pour that into my small mixing cup. And now as you can see, it is not a lot at all especially for a lace closure, you do not need too much product in to get your knots bleach and then I am just going to add a full cup of developer and pour that in there and we are just going to mix that all together and as you can see soon, I am going to add a little bit more developer just to loosen that up a little.
You just kind of want to make it look like cake batter. This is the consistency you want, which is not too loose and not too runny because you want this to be thick enough so it does not run through your closure and onto your actual hair. When it is really thick like cake batter and it doesn’t move. This is the perfect consistency to make sure that it is not runny and it does not go through the lace.
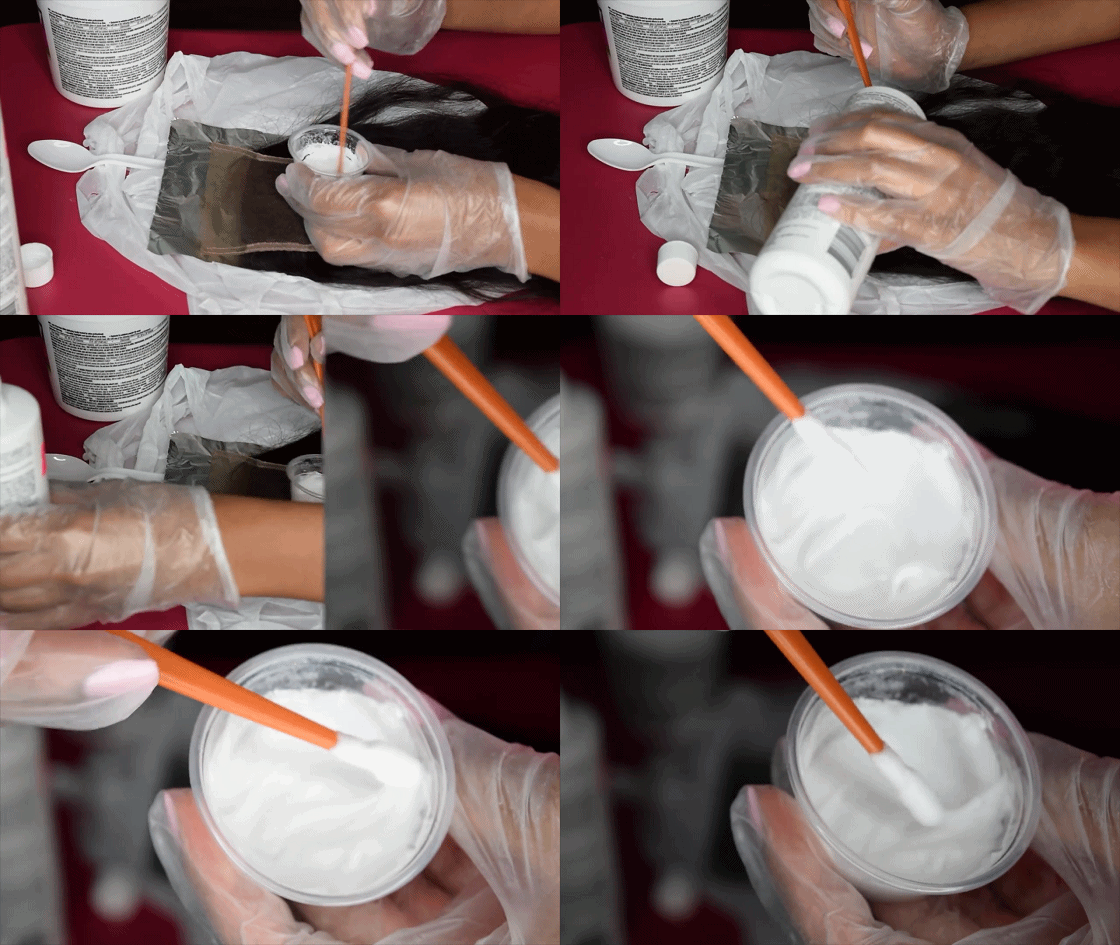
(The consistency)
Step 3 - Applying the bleach on lace
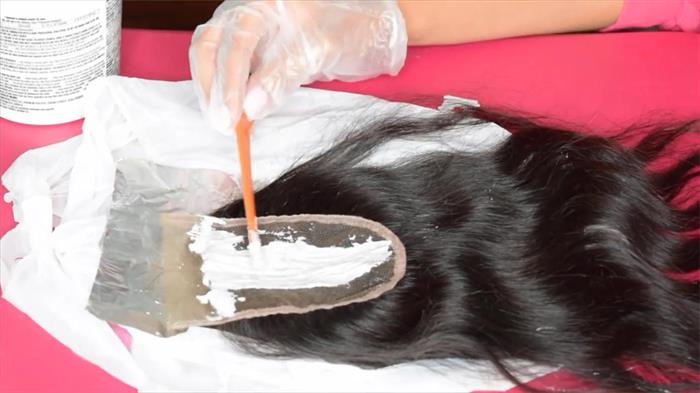
Now, to get these knots bleached, you want to start applying a small thin layer onto the lace. You don’t want to go too thick on lace because you don’t want to sink through and start just dying the roots of your hair because if you apply too much at once and push it in. It is going to leave your roots looking ashy and blonde. We don’t really want that. But that does happen sometimes. I have a method to resolve that at the end of the post. So don’t worry if it happens but you just want to start applying a small coat and as you can see, I start from the middle and then I am just starting to spread it throughout the entire closure.
Okay, if you do plan on switching between a side part and middle part closure, bleach the entire thing. But since I just plan on leaving it just on the middle part, I just bleach the middle areas. The fewer areas you bleach, the less blonde roots you will get.
Once you felt like you’ve bleached the areas that you want it. And now I am just going to lay that flat down on some aluminum foil and now you are just going to see me the part where I want my exact middle part and this is just to help me define where the bleach is going. And now you see me just pressing the hair gently down to make sure all that bleach gets on the knots and cover that up with aluminum foil and let it sit.
(Applying on the middle part)
Step 4 - Wipe out the bleach and shampoo
It is about 15-18 minutes later and let’s check. How I check it is I just go through the hair and see if the dots are bleached. If there are no black dots, it is done. Go ahead and rinse all the bleach out. Wipe out all the bleach on lace and shampoo it. It basically is supposed to be able to stop the bleach from working. I usually shampoo the lace closure for twice because even though I took all of the bleach off the hair, there may be some left behind. Maybe just some residue and I want to make sure that there is no anything left.
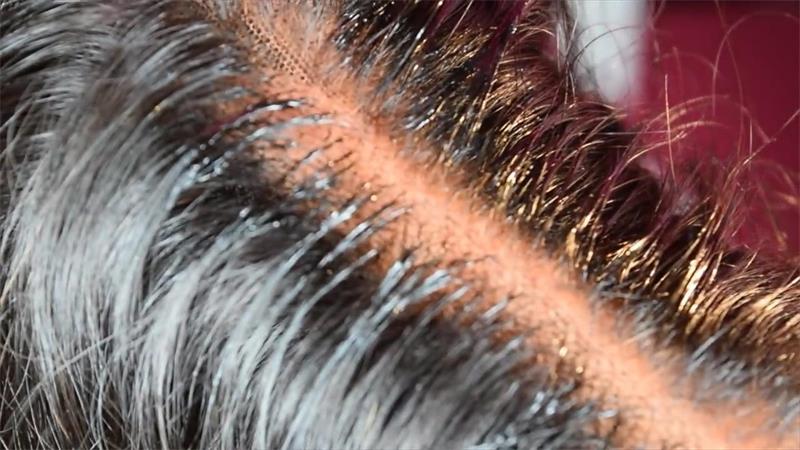
The main steps of bleaching the closure and this will be your finished result. As you can see, that’s a big difference without those black spot. Look more natural and realistic.
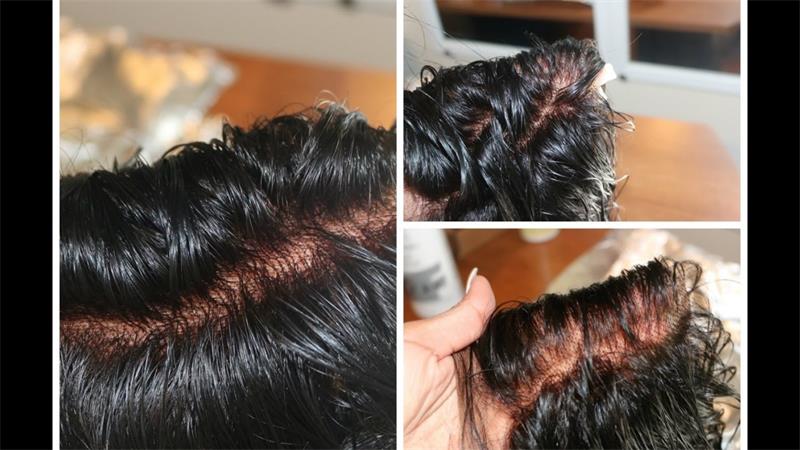
(Finished result)
What to do if you get the blonde roots?
Sometimes, you may also bleach the hair roots by accident and it is kind of sunk through and got on the roots of the hair. We are freaking out because now we have black hair and blond roots. And you do not want that at all. Of course, we have to correct it.
I am going to use an Adore semi-permanent hair color ( Jet Black ) and one mascara brush with no mascara on it. I wiped everything off and dip that lightly into the blonde roots and just go as close as I can to this lace and get these blonde roots out because we can not have black hair and blonde roots. This brush will make it super easy to just get as close as I can to correct that mistake. Just thank God for this method because it helps perfectly. Just be careful not to get the dye on the lace because that can just cause more problems that we do not need. Be careful and tedious and just take your time.
Let it sit for 10 to 15 minutes and we are going to rinse it out and enjoy your perfect lace closure. If you have any inquiry or questions regarding bleaching or dyeing hair, please feel free to contact us. JC Hair Factory experts would provide best suggestions to you. JC Hair Factory is one of best wholesale hair extension suppliers in China for more than 15 years. We always supply quality wholesale hair extensions at most competitive prices to hair distributors, hair salons, hair store, stylists and retail clients. Welcome!!!
Related products
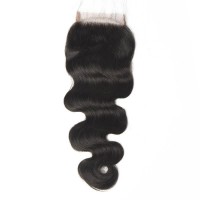
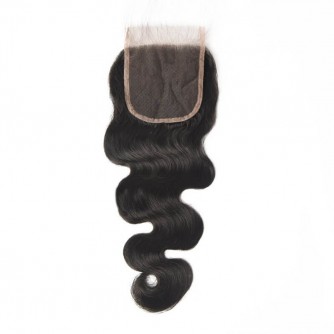
Product NameBrazilian Body Wave Lace ClosureHair Material100% Unprocessed Virgin Brazilian HairHair ColorNatural BlackHair Length10-20 Inches In StockHair TextureBody WaveHair WeftMachine Double WeftHair Weight30-35g/pcsHair QualityIntact Cuticles, No Shedding, Tangling FreeProduct FeaturesCan Be Colored, Can Be RestyledLifespanMore Than 1 Years with Proper Care ..
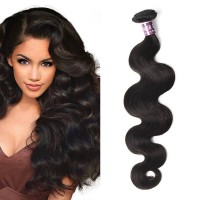
Add to CartProduct NameVirgin Brazilian Body Wave Hair BundlesHair Material100% Unprocessed Virgin Brazilian HairHair ColorNatural BlackHair Length10-30 Inches In StockHair TextureBody WaveHair WeftMachine Double WeftHair Weight100 Grams/BundleHair QualityIntact Cuticles, No Shedding, Tangling FreeProduct FeaturesCan Be Colored, Can Be RestyledLifespanMore Than 1 Years with Proper Care ..
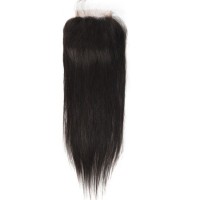
Add to CartProduct NameBrazilian Straight Lace ClosureHair Material100% Unprocessed Virgin Brazilian HairHair ColorNatural BlackHair Length10-20 Inches In StockHair TextureStraightHair WeftMachine Double WeftHair Weight30-35g/pcsHair QualityIntact Cuticles, No Shedding, Tangling FreeProduct FeaturesCan Be Colored, Can Be RestyledLifespanMore Than 1 Years with Proper Care ..
Add to CartProduct NameVirgin Brazilian Straight Hair BundlesHair Material100% Unprocessed Virgin Brazilian HairHair ColorNatural BlackHair Length10-30 Inches In StockHair TextureStraight HairHair WeftMachine Double WeftHair Weight100 Grams/BundleHair QualityIntact Cuticles, No Shedding, Tangling FreeProduct FeaturesCan Be Colored, Can Be RestyledLifespanMore Than 1 Years with Proper Care ..
Add to Cart


